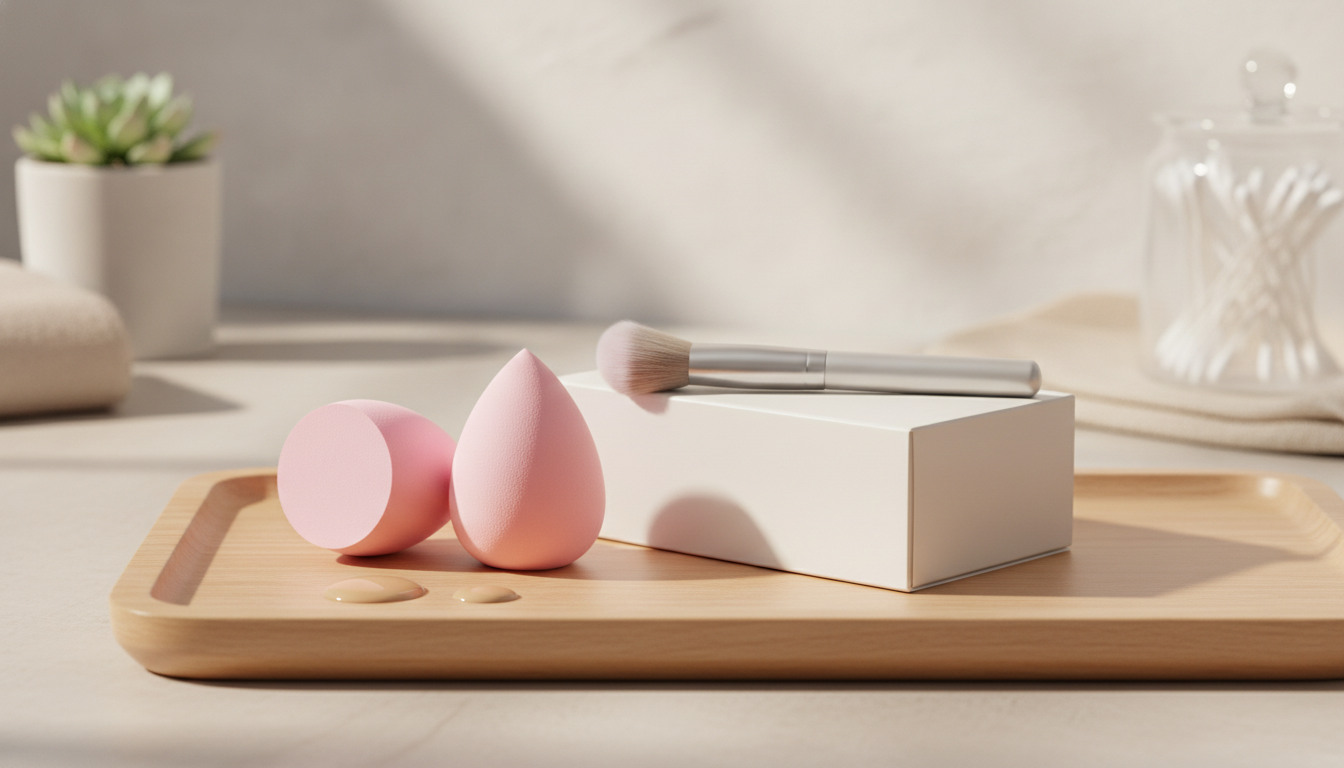
A soft makeup sponge can make foundation, concealer, and cream blush look more even—without streaks or harsh edges. This non-latex sponge includes a storage box to help keep it protected between uses, whether it lives on your vanity or gets tossed into a travel pouch for touch-ups.
If you like a “tap and blend” routine, a sponge can help melt liquids and creams into the skin for a smoother-looking finish. And when it comes with its own box, it’s easier to keep the tool away from dust, lint, and the mystery residue that sometimes hangs out in makeup bags.
Non-latex makeup sponges are designed for anyone who prefers to avoid natural rubber latex in their beauty tools. That can be especially helpful when you’re trying to keep a routine as straightforward and gentle as possible.
For general cosmetic safety and labeling basics, it can be helpful to reference guidance from the U.S. Food & Drug Administration (FDA) — Cosmetics. For everyday skin support that pairs well with gentle application, the American Academy of Dermatology Association — Skin care basics is another reliable resource.
A sponge is only as nice as it is clean. The included box isn’t just a cute add-on—it’s a practical way to store your sponge so it stays in better shape and feels better to use day after day.
One key detail: a box is best for storage, not for trapping moisture. Let your sponge air out as much as possible before closing it up, especially after washing.
Small changes—like using the sponge damp vs. mostly dry—can shift your final look from sheer and skin-like to fuller coverage. For the smoothest blend, resist the urge to swipe; tapping keeps product where you placed it and helps avoid streaks.
| Goal | Sponge state | Motion | Best for |
|---|---|---|---|
| Sheer, skin-like base | Damp | Tap and bounce | Liquid foundation, tinted moisturizer |
| Extra coverage | Slightly damp or mostly dry | Press, then tap edges | Foundation over redness |
| Smooth under-eye | Damp | Gentle tapping | Concealer and color corrector |
| Long-wear set | Dry | Press/roll lightly | Loose powder in T-zone |
Regular cleaning helps your sponge perform better and keeps old makeup from interfering with how new product lays down. Buildup can make blending feel draggy and can lead to patchy coverage—especially around the nose and under-eye.
Tip for faster, more thorough washing: apply cleanser directly to the damp sponge, compress it several times to push makeup out, then rinse and repeat until the rinse water runs clear.
This kind of sponge-and-box setup fits a lot of routines—especially if you want one tool that can handle most of your complexion products without overcomplicating your bag or your counter space.
For an easy, budget-friendly upgrade to your base routine, the Non-Latex Makeup Sponge with Box is a simple staple: blend, store, repeat—without needing a separate case.
If you’re building a lightweight kit for quick changes or nights out, a little sparkle can do a lot. The Gold Glitter Scarf is an easy accessory to keep on hand for last-minute polish when you’re already packing your makeup essentials.
Yes. Use it damp for a sheerer, more seamless blend, and mostly dry when you want fuller coverage and more product pickup. Always squeeze out excess water so makeup doesn’t dilute unevenly.
For liquid and cream products, cleaning after each use is ideal when possible; otherwise, aim for at least weekly if you use it regularly. Let it dry fully before placing it back into the box to help keep storage more hygienic.
It’s best to let the sponge air-dry as much as possible first, since a closed container can trap moisture. Store it in the box once it’s dry or mostly dry to reduce the chance of musty odors and lingering dampness.





Leave a comment